Microphone Auto-Mute on Windows 10 Computers
Date Published: Jun 27,2017 Category: Planned_First_Fix_Release:Collaborate; Product:Web_Conferencing; Version:Web_Conferencing Article No.: 000053343
Date Published: Jun 27,2017 Category: Planned_First_Fix_Release:Collaborate; Product:Web_Conferencing; Version:Web_Conferencing Article No.: 000053343
Product: Collaborate - Web Conferencing
Document Type: User Documentation
Document Summary:
Information: Method 1. Modify microphone’s settings
-Right-click the speaker icon placed on the Taskbar (near Date/Time).
-Select Recording Devices. You will see a window like below come up.
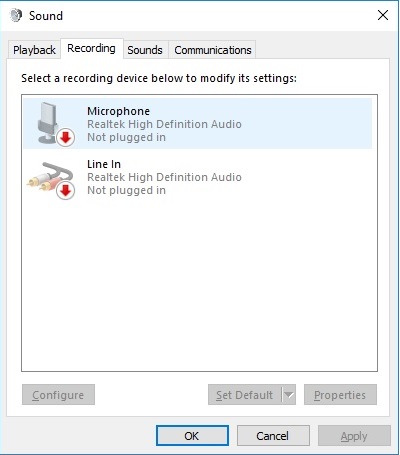
-When the Sound control window opens, select Communications tab.
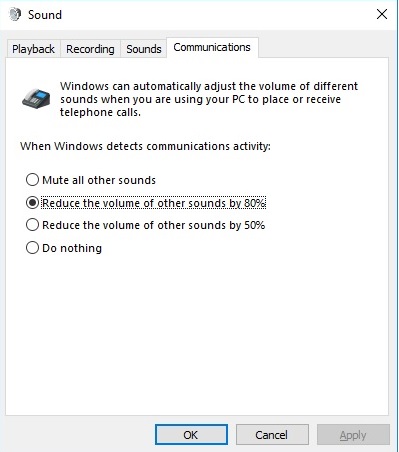
-When the question When Windows detects communication activity emerges, select Do nothing.
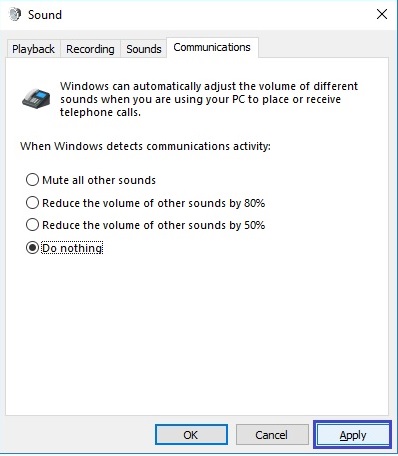
-Then click Apply. After that, check your microphone if it stopped muting itself. If the problem did not stop, please do the following:
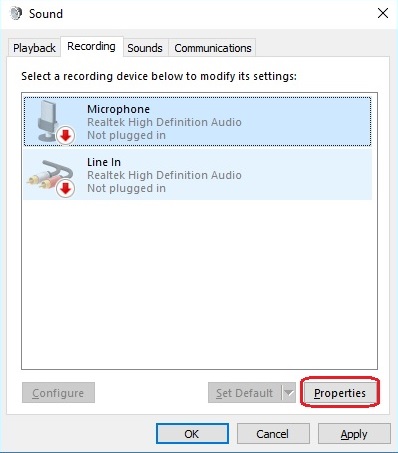
-Open Recording tab on the Sounds window again.
-Right-click on the microphone and select Properties.
-Click Advanced tab on the new window.
-Unchecked the Allow applications to take exclusive control of this device option.
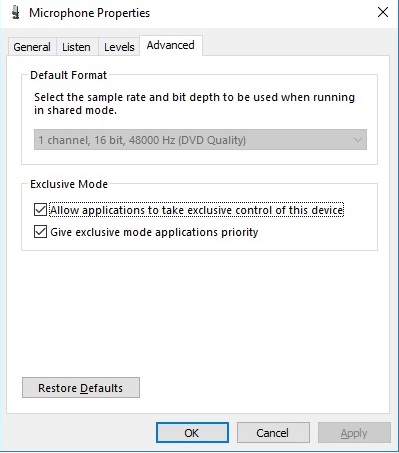
-Click Apply to save the changes.
However, if you are still having issues with the microphone still not working in the session try the suggestions below.
Method 2. Change the format of the Microphone
-Right-click the speaker icon placed on the Taskbar (near date/time).
-Select Recording Devices and double click on the microphone that you are currently using.
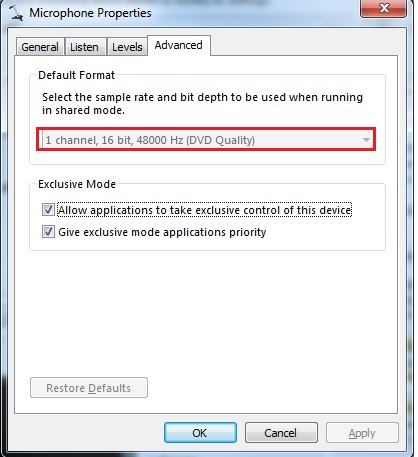
-Open Advanced Tab and select any of the 16-bit options on the list.
Method 3. Update device drivers
-Press Win key and type Device Manager.
-Open Device Manager. Expand Sound, video and game controllers and update all device drivers from that list.
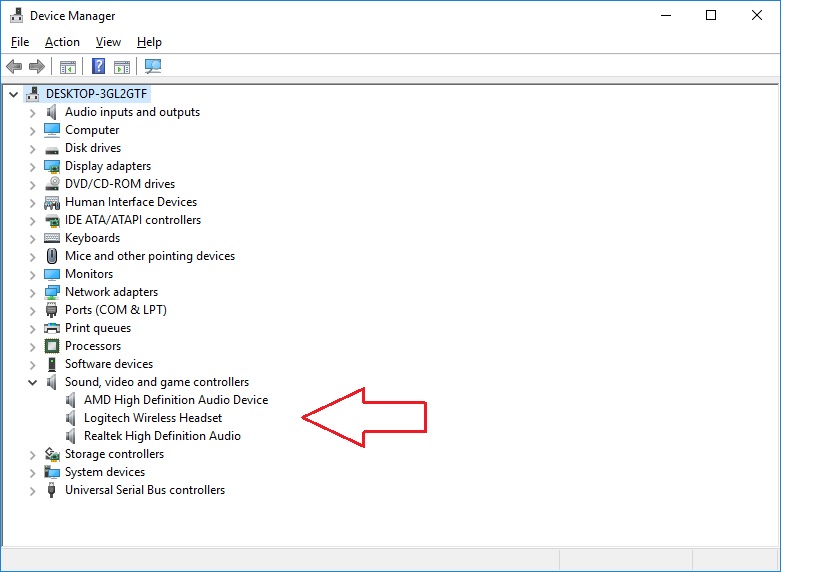
-For this purpose, right-click on the Device Driver, select Properties, and click Update Drivers.
Auto-Mute for Microphones on Windows 10 Machines
Customers will see that their microphone was muted, but they did not mute it themselves, when trying to use it in their session. There is a setting on Windows 10 that makes this automatically happen. The instructions below will provide you with the necessary steps to resolve this issue.Information: Method 1. Modify microphone’s settings
-Right-click the speaker icon placed on the Taskbar (near Date/Time).
-Select Recording Devices. You will see a window like below come up.
-When the Sound control window opens, select Communications tab.
-When the question When Windows detects communication activity emerges, select Do nothing.
-Then click Apply. After that, check your microphone if it stopped muting itself. If the problem did not stop, please do the following:
-Open Recording tab on the Sounds window again.
-Right-click on the microphone and select Properties.
-Click Advanced tab on the new window.
-Unchecked the Allow applications to take exclusive control of this device option.
-Click Apply to save the changes.
However, if you are still having issues with the microphone still not working in the session try the suggestions below.
Method 2. Change the format of the Microphone
-Right-click the speaker icon placed on the Taskbar (near date/time).
-Select Recording Devices and double click on the microphone that you are currently using.
-Open Advanced Tab and select any of the 16-bit options on the list.
Method 3. Update device drivers
-Press Win key and type Device Manager.
-Open Device Manager. Expand Sound, video and game controllers and update all device drivers from that list.
-For this purpose, right-click on the Device Driver, select Properties, and click Update Drivers.